

Hello my friend,
Today we’ll talk about pure infrastructure topic and will try to answer simple question: how to build great lab infrastructure for your tests or product development on affordable costs. If you expect to have step-by-step guide, you will get it.

2
3
4
5
retrieval system, or transmitted in any form or by any
means, electronic, mechanical or photocopying, recording,
or otherwise, for commercial purposes without the
prior permission of the author.
Brief description
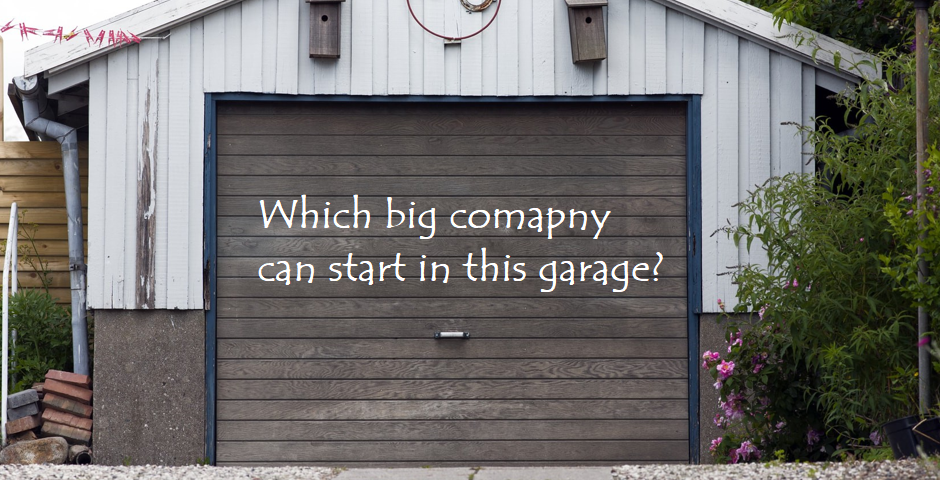
You know, home lab is something special. It’s like good old garages, where Disney, HP, Apple and many others have started their empires. Though you really can build your lab in a garage, it is not necessary. For instance, I have mine in a living room with the server located just under sofa. The only drawback that it’s a bit noisy in the room, when I’m labbing.
The home lab has several advantages over any other one (like lab at work or in a cloud):
- It’s always available for you whenever you at home, so you don’t need internet connectivity (in case it’s broken or slow).
- You can play with all technologies, VMs, containers, etc you need without any limitations.
- You have root access to it; you can build, crash, restore, break again it.
- You can build any distributive you need: Centos, Ubuntu, Debian, Fedora, Gentoo, etc.
- You can really develop and test anything you need.
- You pay the price to create it (mainly, server costs) and that’s it.
Obviously, there are also a couple of disadvantages:
- You need to buy a server (or get it somewhere for free, if you can), so you need some investment.
- You need to be at home to use it, meaning physically at home. Theoretically, you can configure remote access, but then there is not too much differences comparing to any cloud lab (like running on AWS).
- You need to have a broad set of skills in addition to standard networking (or software developing, or whatever else your focus is) skills.
- You need to agree with your family that they are OK to be in quite a noise, if you really don’t have a garage.
All in all, for myself I found an answer that home lab is must have. So I gonna describe the way I’ve built it.
What are we going to test?
Actually there are three major steps in lab step, which you need to take care of:
- Physical setup and connectivity.
- Installation of Operation system.
- Installation of the proper Linux packages
Software version
The following software components are used to create the lab.
HW for management host:
- HP ProLiant DL380G6 with 2x 4c Intel Xeon CPU and 72 GB RAM
SW at management host:
- CentOS 7.5.1810 with python 2.7.5
- Ansible 2.7.0
- Docker-CE 18.09
Topology
As we speak about creation of the home lab, we don’t speak about topology we are typically using for Service Provider Fabric. We speak about server connected to home network and other important components:
2
3
4
5
6
7
8
9
10
11
12
13
14
15
16
17
18
19
20
21
22
23
24
25
26
27
28
29
30
31
32
33
34
35
| |
| +---------------------+ |
| | | My IT garage |
| | Ordinary home TV | (home lab) |
| | (acting as monitor) | |
| | | |
| +----------+----------+ |
| ^ |
| | HDMI Input |
| | |
| +-----+-----+ |
| | | |
| | VGA->HMI | |
| | Converter | |
| | | |
| +-----+-----+ |
| ^ |
| | SVGA Output 192.168.178.0/24 |
| | /\/\/\/\/\/\ |
| +----------+----------+ DHCP DHCP +------------------------+ / \ |
| | | Client Server | | / \ |
| | Server (HP DL380G6) +----------------------------+ Ordinary home router +---------+ Internet / |
| | | .41 .1 | (Fritz Box) | / \ |
| +----------+----------+ GE(RJ-45) FE(RJ-45) | | \ / |
| ^ +------------------------+ \/\/\/\/\/\/\/ |
| | USB |
| | |
| +----------+----------+ |
| | | |
| | Ordinary Keyboard | |
| | | |
| +---------------------+ (c) 2019, karneliuk.com |
| |
+----------------------------------------------------------------------------------------------------------+
As you can see, besides the server there are plenty of other components involved in home lab setup. You can think, that there is no difference comparing to having the desktop. You might be right with the exception that I have seen the desktop roughly 5 years ago and have neither monitor nor keyboard. So, back to the future!
Physical lab setup
The component is obviously server. Please, welcome Mr. Server:

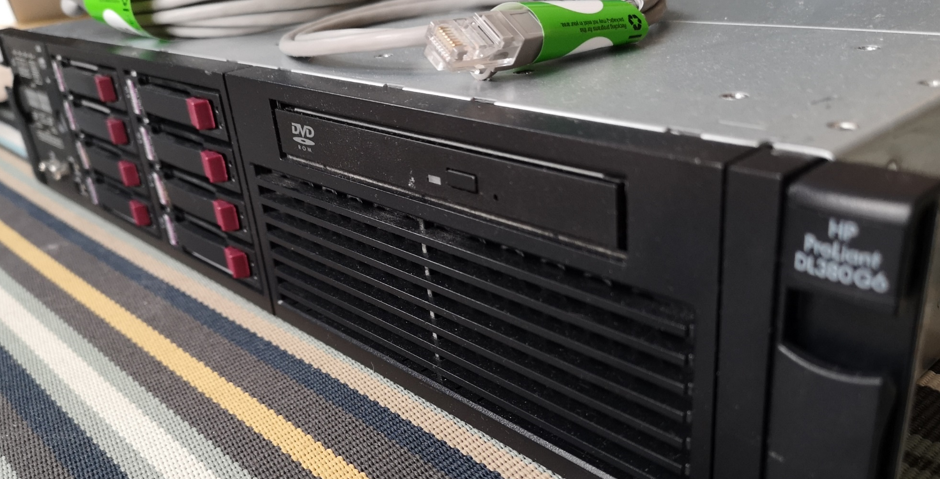
This server is kind of jewel for home lab. As you’ve seen earlier, it has 72 GB RAM , 2x 4c Intel Xeon CPU supporting hyper-threading resulting in 16 vCPUs and roughly 1TB HDD. What does it mean? Rough estimation is the following:
- 8 Gb RAM will be used by the host itself with all the necessary Docker containers running (Telegraf, InfluxDB, Grafana, NetBox) and anything else I will need in future.
- 64 Gb RAM go to VMs with network functions. Just to recap the requirements of VMs from Server Provider Fabric: 4GB for Cisco IOS XRv, 4GB for Nokia VSR, 2GB for Arista vEOS, 1GB for Cumulus VX.
As you see, there are plenty of resources to scale up the service provider Fabric from 5 VNFs up to 10-20 devices with possibility to deploy full automation and monitoring stack.
Obviously, such amount of VMs requires different approach for launching the lab comparing to my existing approach. So new articles describing that are coming.
Ok, so far we have a server. What’s next? To get all the additional components and to assemble the lab:
- Power cable for normal AC circuit (seems obvious, but as I haven’t dealed with real server HW for a while, it is kind of insight J). I got together with server, so it’s fitting to normal power socket on the wall in the flat.
- Keyboard. Most probably you will use it only during the server setup, as then you will use SSH to the server, but for beginning you need to have that. I got it with the server as well.
- Monitor. For the initial setup you need to see what’s going on, so you need to display the output from the server somehow. I don’t have monitor at home, that’s why I’ve used TV. The main issue I’ve faced is that the server has SVGA output, and my TV has only HDMI inputs. To solve that I’ve used such adapter. If you would like to follow this way, always check the direction of conversion: VGA to HDMI or HDMI to VGA. The adapter is NOT bidirectional.
- Network cable. The default Linux distributive you can install from the DVD (later more on that), but all the packages it’s much more convenient to download directly from Internet. Also as there is no GPU on the server, it isn’t convenient to work locally, that’s why it’s better to manage to over SSH from the laptop.
All mentioned things aren’t necessary, when you typically run the VMs on your laptop. And as I’m not dealing daily with HW setup, it was a fun to deploy infrastructure.
Once the physical setup is done, we can proceed with the basic installation of the Linux distributive.
Installation of CentOS
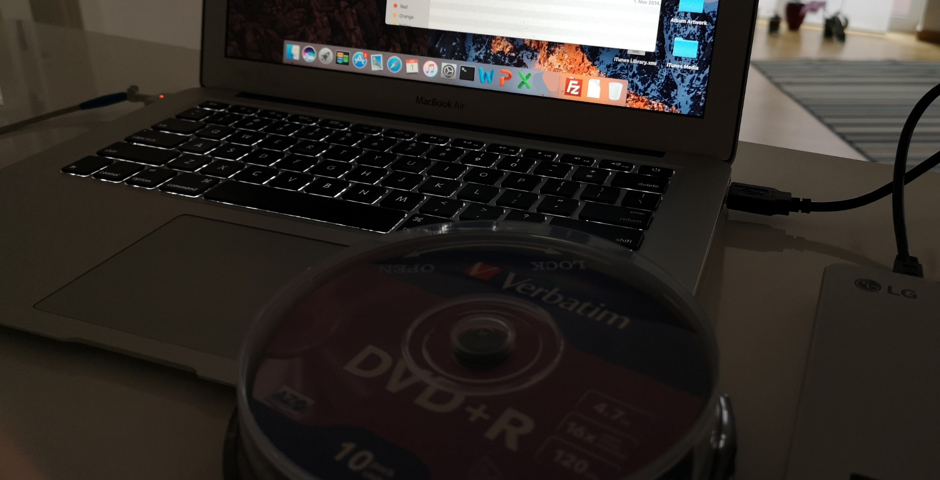
The first installation of the distributive on the fresh server is not difficult topic, but it requires some preparation. I’ve chosen CentOS as I have it inside my test VM on the laptop. If you want to deploy the same, you can just download the latest release from the official repo. When the image is downloaded, you can either to burn it on DVD to create boot flash. I didn’t have the flash of proper size timely, so I decided to go hard with DVD.
The last time I burned any kind of CD or DVD was 5-6 years ago. So I have to buy some raw DVDs. Additional challenge was that I didn’t have a built-in DVD-ROM inside my laptop. The good thing is that this problem was solved a couple of years ago, when I bought external one. So looked my setup to burn CentOS image to DVD:

Looks nice, isn’t it? Here is also the process of burning the DVD:

It took a while, probably 10-20 minutes for burn and verify the integrity. So looked the ready CentOS DVD:
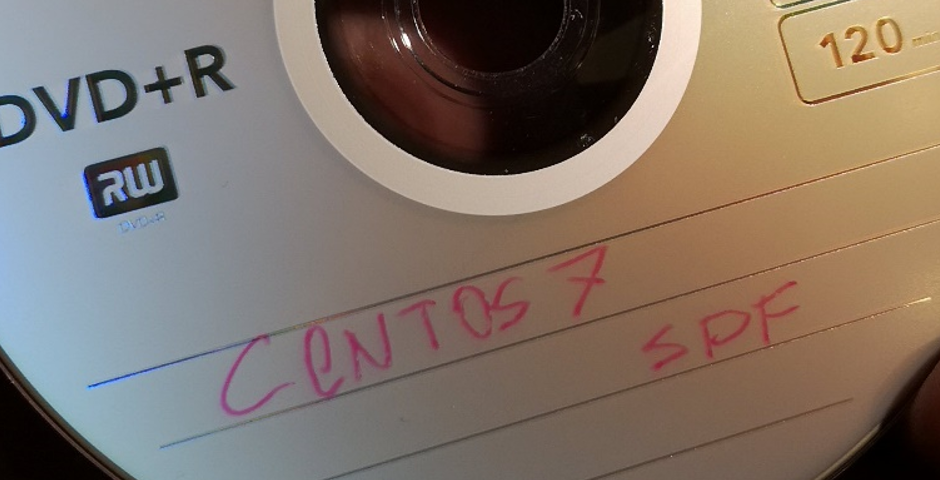
I guess, you know what SPF means, don’t you? If you think about Service Provider Fabric, you are perfectly right!
Now we have the server physically wired to the home router for Internet connectivity, connected, attached keyboard and DVD with CentOS 7 image. We can proceed with turning the server on.
The sound in first one minute is close to jet taking off. The good thing is that after this minute, the sound goes down, but still it’s quite loud.
During the first launch we see the BIOS screen.
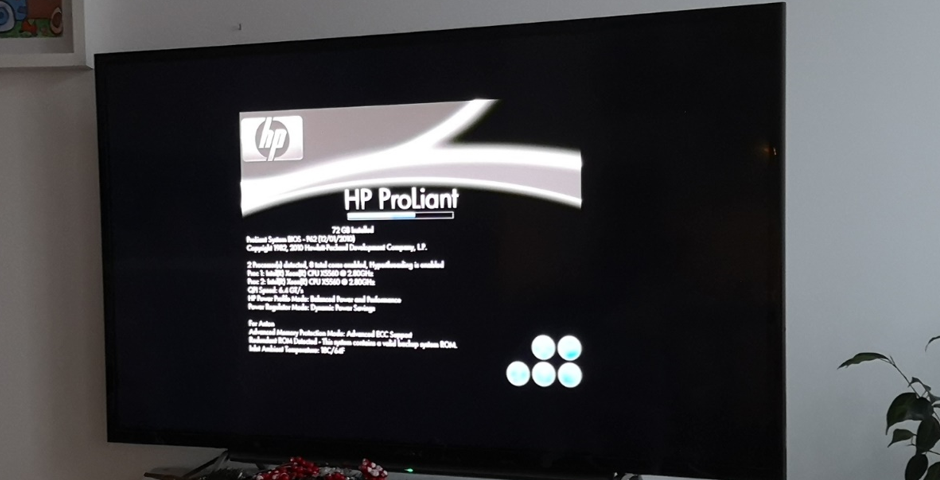
As you see, TV matches perfectly to be monitor for your home lab.
We need to chose the boot-order in a way CD/DVD-ROM is the first one and inject the DVD with CentOS image.
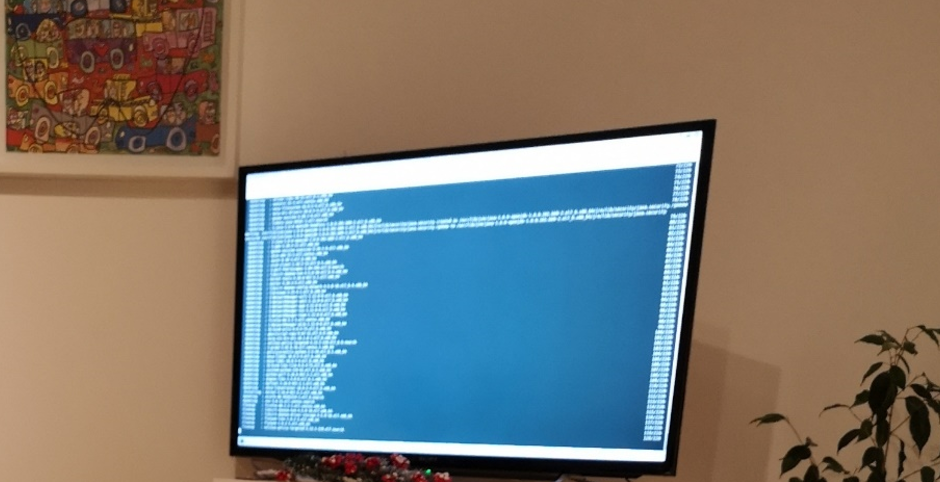
Then we proceed with CentOS 7 installation. I’ve chosen the “server with GUI” option and followed the path described year ago.
Installation of proper Linux packages
After you perform installation and make first boot, don’t forget to update all the packages. There are plenty of packages, which should be updated:

All the packages I have to install I already listed. So I just went step by step to install them just copying the commands from the provided article. These steps aren’t yet automated, this will come later. The reason why I haven’t automated that is because I install the lab roughly 1 time a year, so the investment of the time in this automation can’t be justified even for myself.
Another interesting point I faced during Docker installation. I just ran the automation created in the previous article and it installed and configured Docker as proper including installation and configuration Telegraf, InfluxDB and Grafana.
Lessons learned
The take away for me that real life is a bit different to have the lab purely as VM on my laptop. I’ve forgotten about that, but I’m happy I’ve done some exercises to fix that. Also burning DVDs after several years of not doing so is an awesome feeling.
Conclusion
The history teaches us that having the garage, where you can create and develop something is a way in which the biggest existing companies started. It doesn’t matter if you want to establish new giant like Apple or just want to develop some nice automation stuff, you need a sandbox, which is always available for your activities. Fulfil your dream. Build your own home lab. Take care and good bye!
Support us
P.S.
If you have further questions or you need help with your networks, I’m happy to assist you, just send me message. Also don’t forget to share the article on your social media, if you like it.
BR,
Anton Karneliuk